
Cutting-Edge Marketing to Grow Your Business.
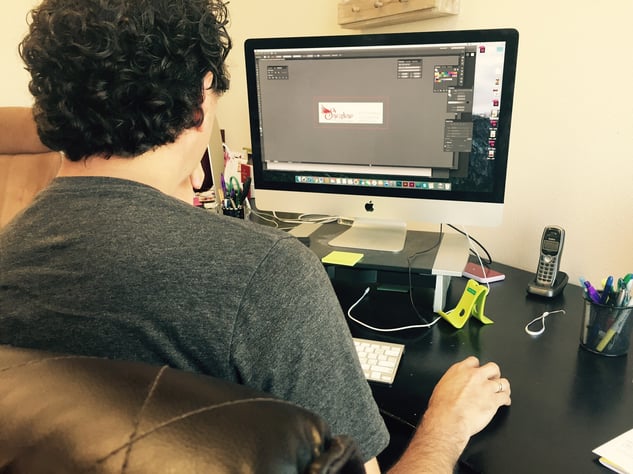
When given the task on Adobe Illustrator CC to release new logos as black, white, color in pdf format, jpg format and png format for 21 different restaurants, you can assume this would be time consuming. I know I did! Not only did I have to do this with three different colors, the jpegs and pngs had to be rendered in three different resolutions. It struck me that this would entail exporting 210 DIFFERENT files (10 files X 21 restaurants!)
While approaching this task I discovered a little something in Adobe Illustrator: a life-saving tool called “Asset Export."
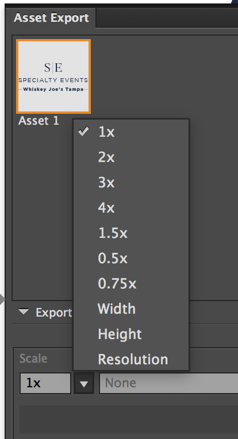
Asset Export allows you to export as MANY jpgs, pngs, pdfs you might need, with the correct resolution and size. Take a look at Adobe while thinking about its customers and how to help them better utilize their time. Below learn Adobe Illustrator tip you'll thank us for! Follow the step-by-step to show you how this awesome tool works. Since we did this by exporting final logos, they will be the content of this demonstration. Enjoy!
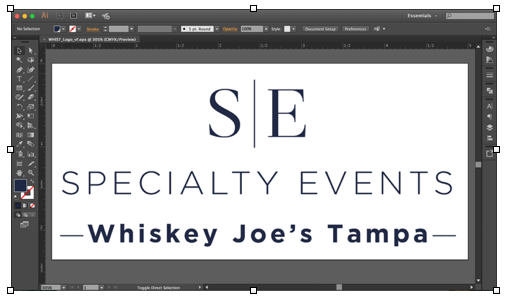
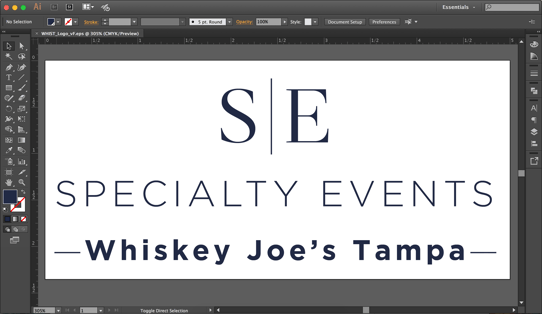
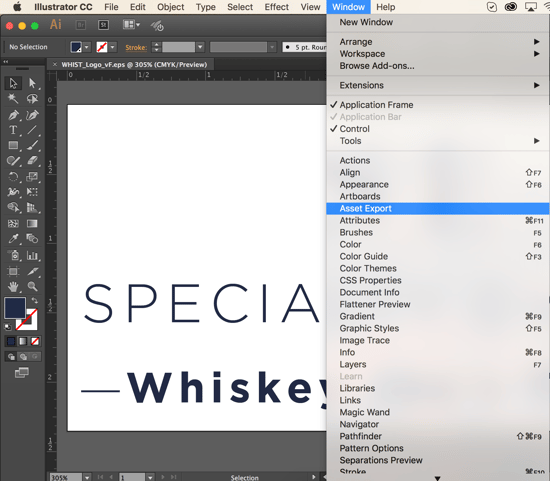
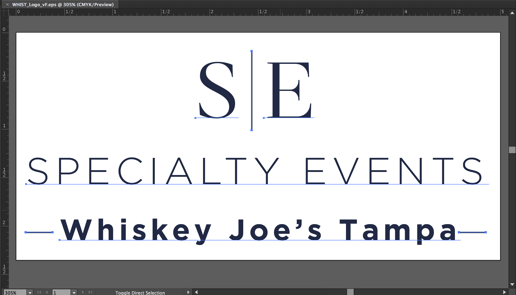 3. Click “Window” and when it drops down with multiple options you will want to click “Asset Export”
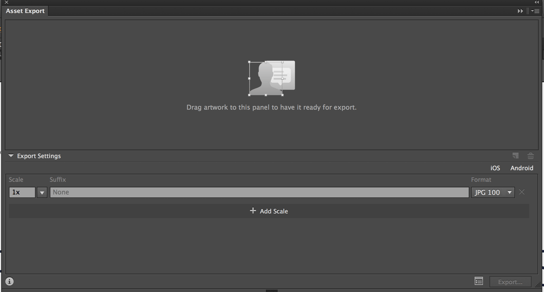
  4. With your artwork selected, you're going to need to drag it into the panel specified.
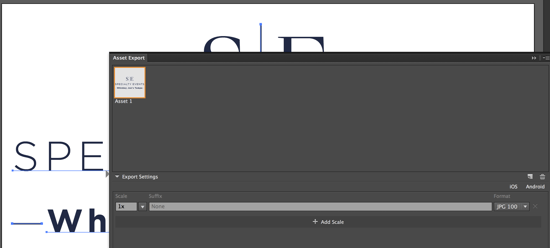
 5. Once it’s imported it will look something like this. By default, it gives your project the name “Asset 1”. Go ahead and click under the thumbnail where it says “Asset 1” to change the name to exactly what you want. We will change the name in the file below to “WHIST_Logo_”.
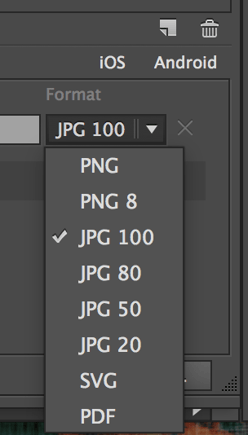

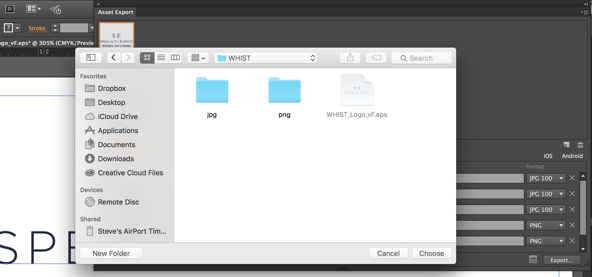 10. Minimize your Illustrator program, open up the folder and make sure everything is saved correctly. I placed mine in separate folders to be able to grab faster.
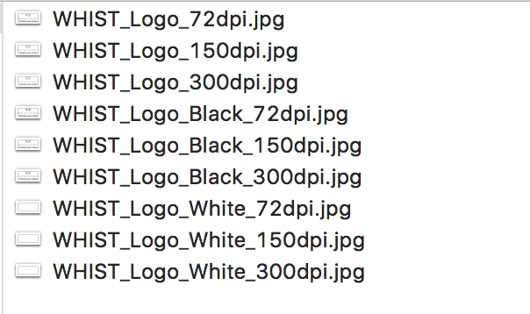 11. Have fun exporting at the speed of light!


Lorem Ipsum is a simple dummy text used as a dummy text contents. Lorem ipsum will be replaced. Lorem Ipsum is a simple dummy text used as a dummy text contents. Lorem ipsum will be replaced.Lorem Ipsum is a simple dummy text used as a dummy text contents. Lorem ipsum will be replaced.


