Cutting-Edge Marketing to Grow Your Business.
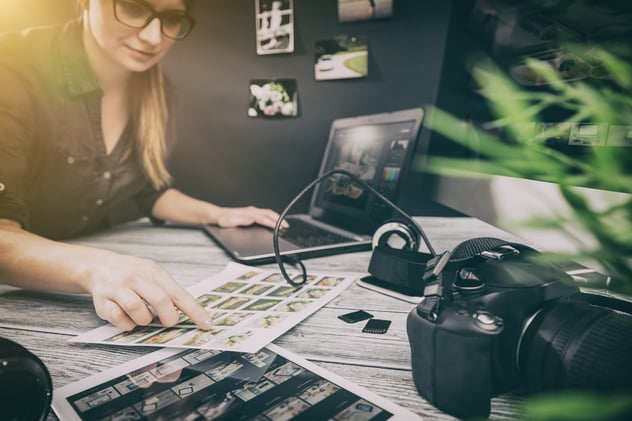
Oftentimes as a designer, we have to design something that is centered around plenty of beautiful, eye-catching images. For the most part, we do receive beautiful breathtaking images, however, like any job, it comes with its difficulties. One example, sometimes clients will send images that are low-resolution. It is every designer's nightmare to go back and forth just for an image. The problem with this, is the fact it becomes extremely difficult to work with low-resolution images especially when it comes to printing & graphics. So, let's go over some helpful tips and tricks for the best practices for low and high resoluton images as well as figuring out if your image is worthy for print.
First...
Determine if your image is high-resolution or low-resolution. To determine this, you'll need to understand DPI, which stands for Dots Per Inch and why it's important. DPI is the measurement for how many dots can be placed within the span of an inch of your image. When it comes to print, the image is actually represented as actual dots that you can only see when you zoom in extremely close. For the web it'll come up as pixels and if you zoom in on a image it leaves you with squares (not dots). So, ask yourself this, would you be able to see an image clearly with 10 dots per inch, or 100 dots per inch? If you said in your head 100 then you are absolutely correct. See below for an example of how the printer sees DPI.

Next..
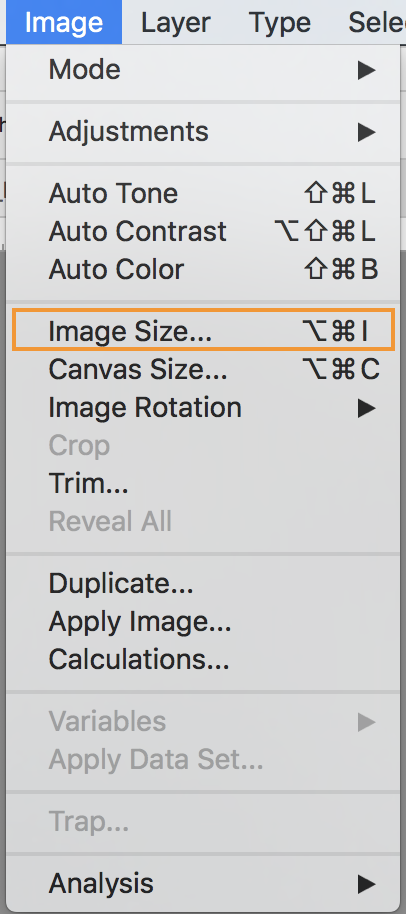
Let's figure out if your image is a high-resolution size. There are two easy ways to figure this out.
What you need to know when hiring the right graphic design studio. Download this checklist today.
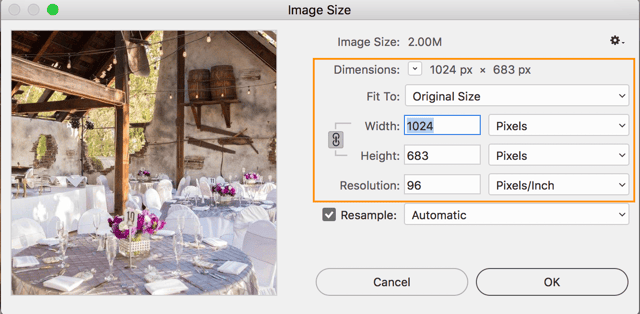
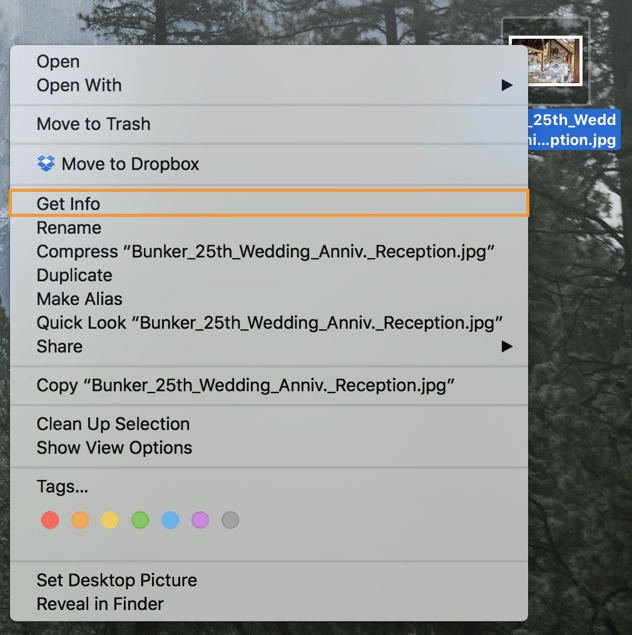
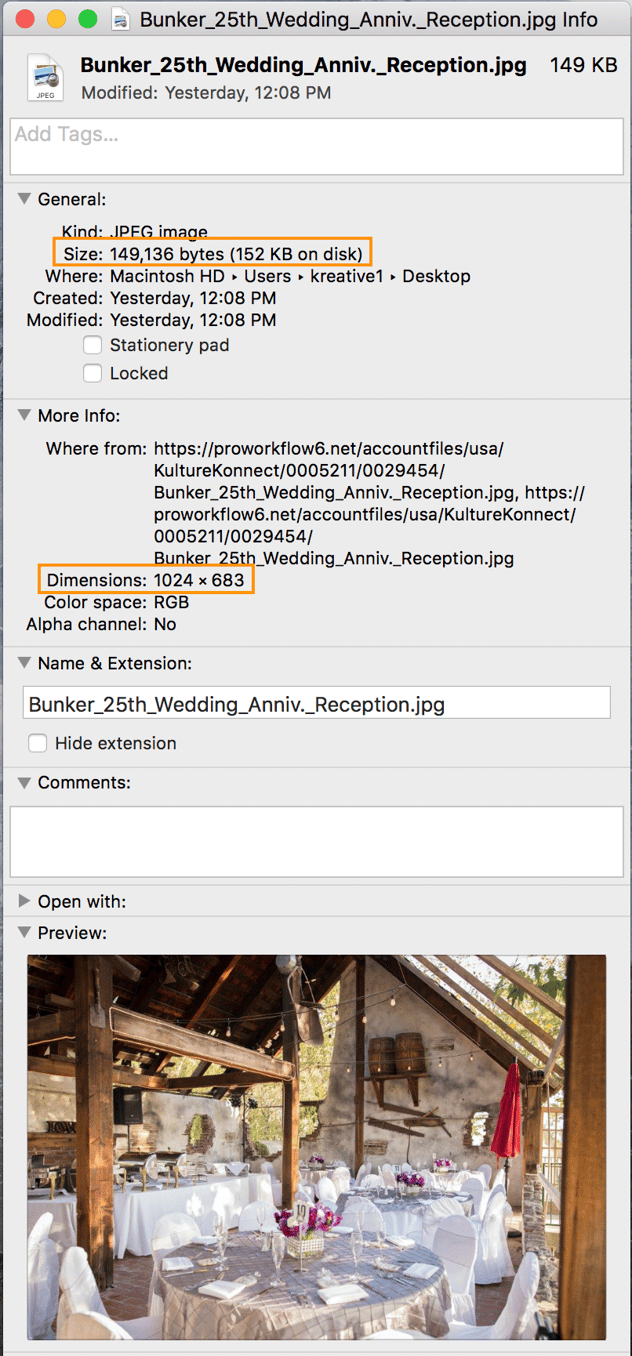
1. Right-clicking on Image
For this option where you might not get the DPI you will be able to see if it's a large enough file size for you to continue for print. If the pixels are 1000 x 1000 and its a 2.5MB file size or above then you will be good for print. If the size and file size is below that or in KB then it will not be suitable for print. This will be better fitted for online purposes and not printing.
Now...
Another thing to note, if you have an image that is indeed 300 DPI but is absolutely grainy and not very clear there is no fixing this. I would highly advise to just trash the image since it would not be visible for print. An old graphic design teacher of mine once said, "what you see on the screen is what you get 95% of the time." What she meant by this is your final pieces are true to print if your settings are even with your printers. If they are not, then that's the extra 5% you'll never know what you'll get in terms of color matching. In most cases, you will never know how the printer will accept your image and eventually print it, if it is low-resolution.
Also, don't get me wrong if you have a great image but it's 72 DPI and you can't use it for print, don't immediately trash them. SAVE IT! You can use that for your web pieces, such as Instagram or a Facebook post, web modules, and website display images. They can still be put to good use within your company. You, unfortunately, will not be able to use them for your high-quality printed pieces.
In closing, some things to remember, just because it looks great on the screen does not mean that the sharpness and look of the image will translate to print. Always be aware of your file size when sending it to your designer or even if you're designing for yourself. Lastly, high-resolution images are yours and your designers best friend's and it'll save the headache for both of you in the long run, from the back and forth on choosing an image.
Now get out there and clean up your image catalog and better yet separate those images into different folders titled WEB and PRINT so you know which are your best for print and which are better left to be used on the internet.
Seeking professional graphic designers to design your work? Contact us today. 951-479-5411
What you need to know when hiring the right graphic design studio. Download this checklist today.


Lorem Ipsum is a simple dummy text used as a dummy text contents. Lorem ipsum will be replaced. Lorem Ipsum is a simple dummy text used as a dummy text contents. Lorem ipsum will be replaced.Lorem Ipsum is a simple dummy text used as a dummy text contents. Lorem ipsum will be replaced.
